We Upgraded Our RV Vent Fan | Step-by-Step Installation Guide

Does this sound familiar? It’s a hot, humid summer day and you’re trying your best to appreciate time in your camper.
It’s difficult, though – the air inside your camper just won’t cool down. It’s almost miserable.
That dingy factory vent fan that came with your RV just won’t move the air around at all.
If you’re like us, this is when you realize that you need to upgrade the fan – like, now.
Or maybe you have more forethought than us and you’re planning to change out the fan long before the summer temperatures set in.
Either way, we’re sharing our experience changing out and upgrading the vent fan in our Winnebago Micro Minnie. Below is a step-by-step guide of how we did it.
Tools Used For Upgrading The Camper Vent Fan
- Vortex Vent Fan
- Drill
- Wire Nuts
- Zip Ties

Step-by-Step Installation Instructions
Before we get into the installation instructions, we want to note that we chose this particular vent fan because it would fit into the space without needing to take off and modify the roof vent. Other fans on the market to require that, and for us, that was more than we wanted to do.
In addition to the easier installation requirements, the Vortex Vent Fan works wonderfully – it moves the air around and allow for various speeds and directions of the fan.
Step One: remove the stock fan
This may vary depending on the type of fan you have. For us, we started by removing the screws on the plastic trim of the fan and take the screen off.
Our stock fan was riveted into a metal crossbar. This crossbar needs to stay in tact because you will screw the new fan into it.
To undo the rivets, we drilled a hole through the rivets to weaken them, which allowed us to pull the fan out.
Once the fan is out, undo the wiring harness. We snipped both wires with wire cutters – they are thin gauge wire.
Step Two: assess the crank case
Again, this may be different depending on your exact set up. On our Winnebago Micro Minnie, the crank case on our upgraded fan did not line up with the crank wheel. This crank gear system is how you open the vent.
So, we took the screws off the crank case of the fan and moved it to the other setting so that it would match with the crank wheel.
If we hadn’t done this, the gear won’t catch and open the vent. It took us a bit to realize we needed to do this.

Step Three: connect the fan wiring
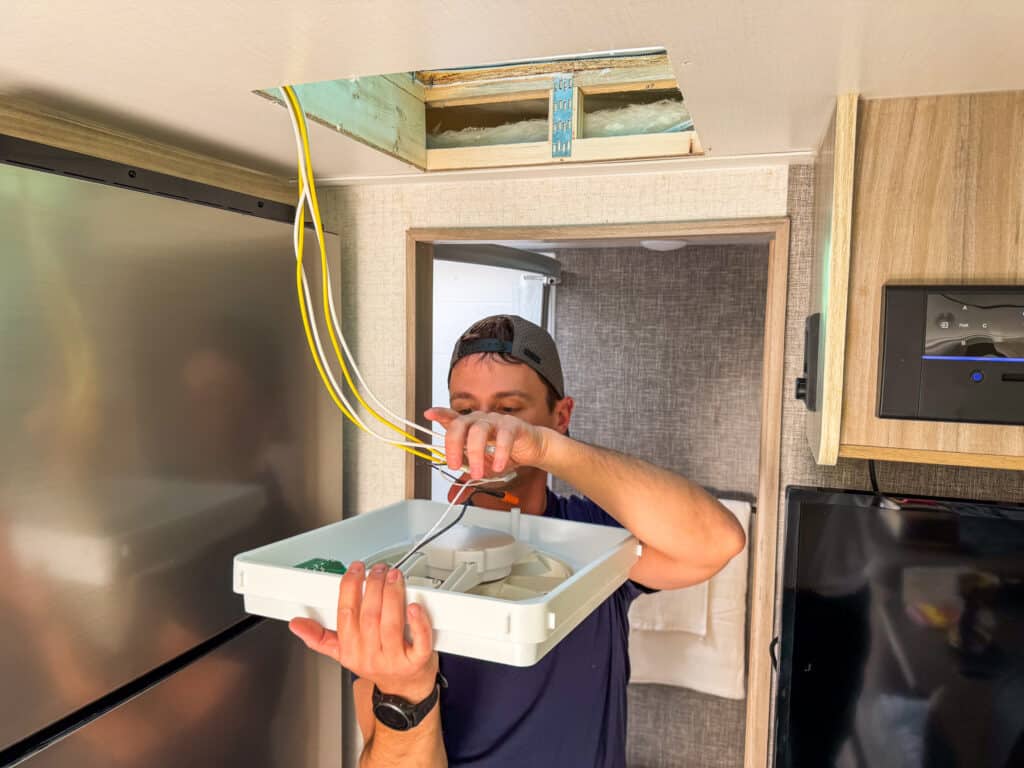
Next, connect the wires.
We striped the wire on both the black and white pieces by about 1/2 inch.
We took two wire nuts and connected them – white to white and black to black. The black is the hot wire, so be careful using the wire nuts to join them.
At this point, we tested the fan to make sure the wiring was correct and it would turn on. And it did – YAY!
The wires will need to be tucked into the fan before installing it. We used zip ties to manage the cords and wires.
We ran the wires along the outer edge of the fan – just make sure the wires are out of the way of the fan and before hoisting it into the ceiling.


Step Four: screw in the fan
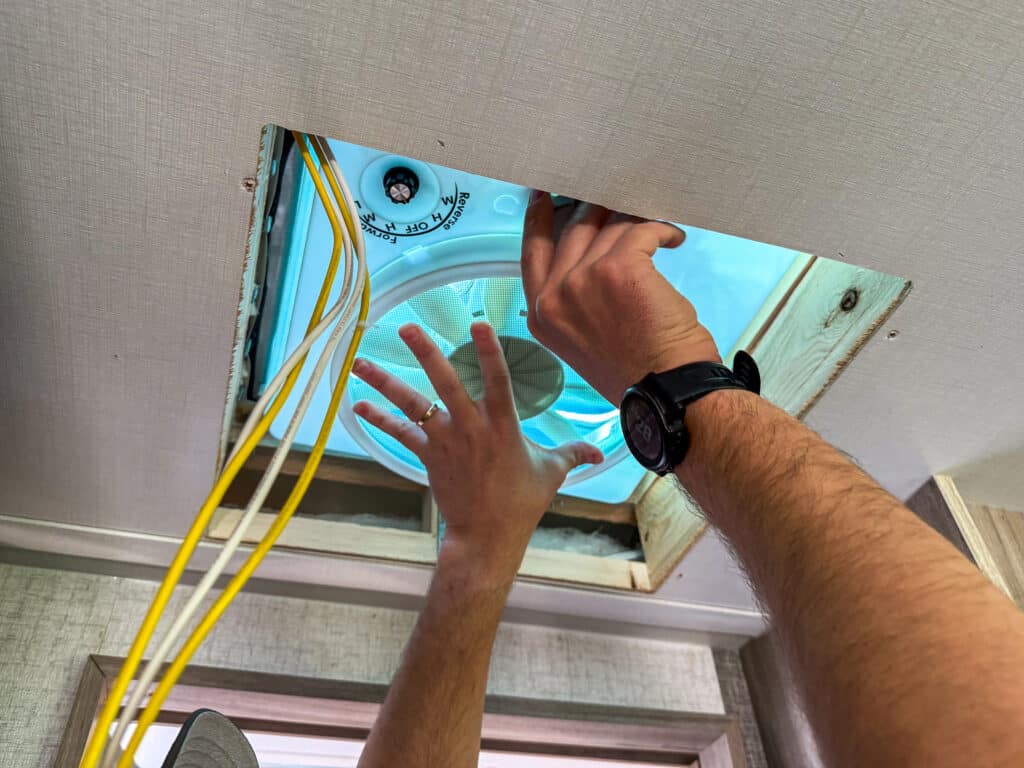
The final step! Hoist the fan into the ceiling and you’ll see there are two screw holes in the crossbar.
Before screwing it in, test the knob for the vent to make sure it opens.
You’ll need a long screwdriver for this because the holes are way up there. It does help to have two people doing this part.
And that’s it! Now enjoy the airflow from your new Vortex Vent Fan!

More Travel Trailer Projects
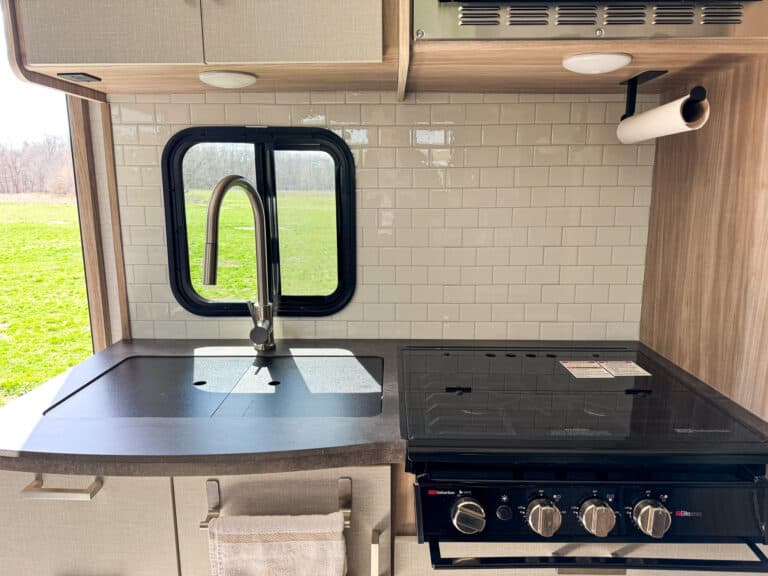
We’re doing one DIY project after another – be sure to read about how we installed new kitchen tile backsplash!


One Comment
Comments are closed.